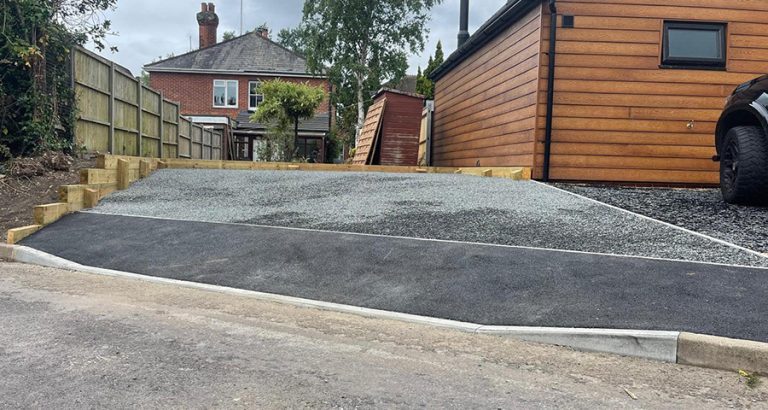
Gravel Driveway
35m² Gravel Driveway Installation Using X-Grid
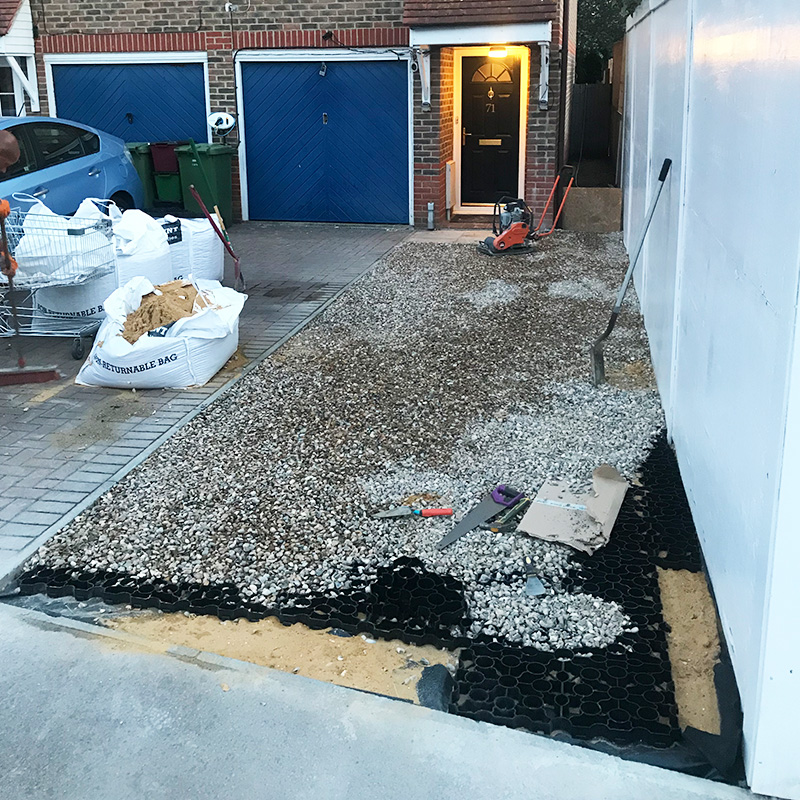
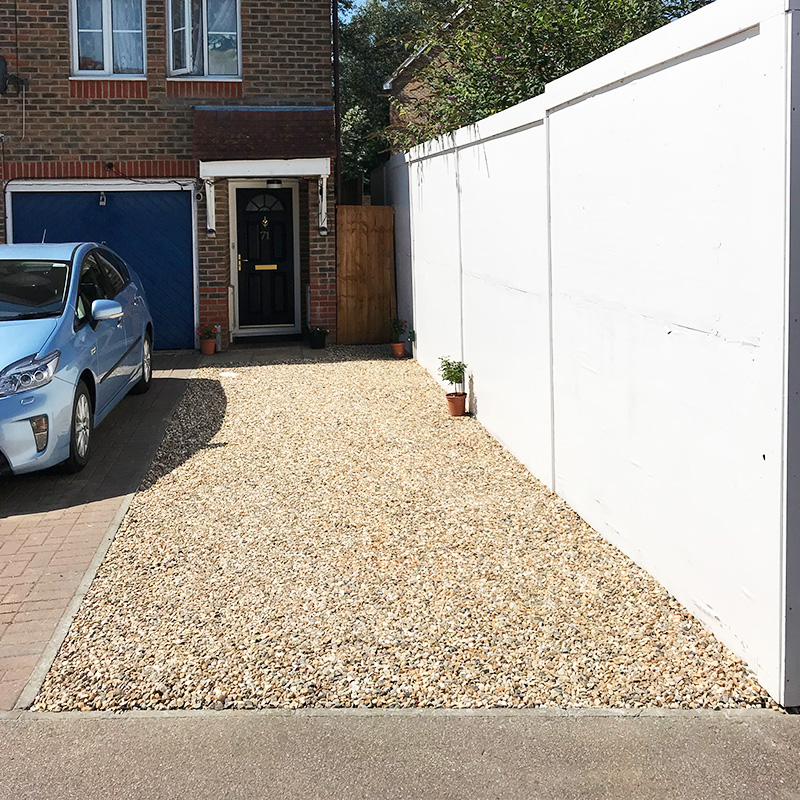
A gravel driveway case study shared by MGM Landscaping who transformed an unused grassed area into an attractive, functional and low-maintenance parking space,
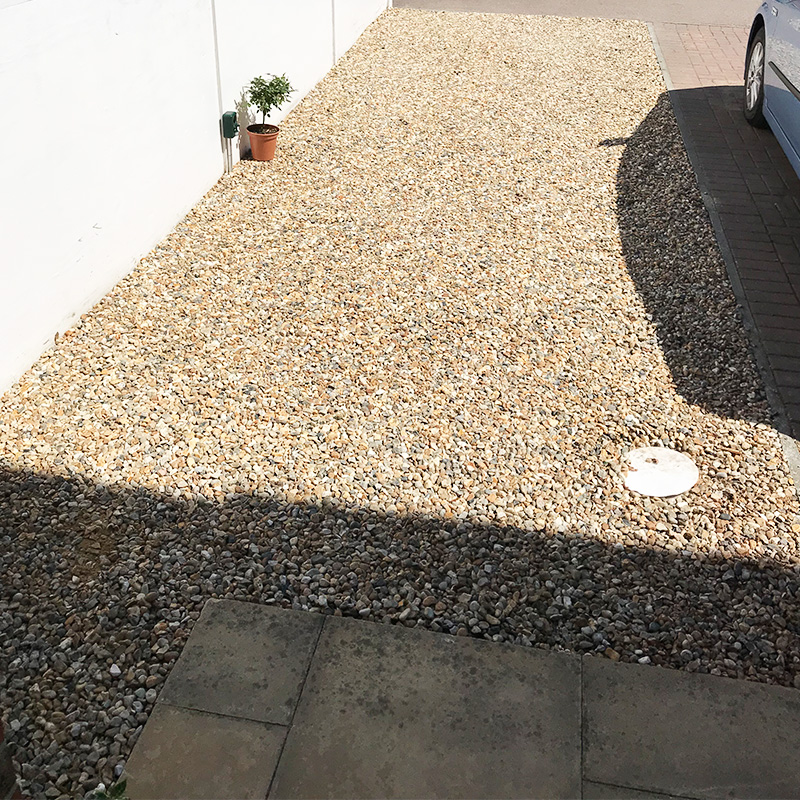
A gravel driveway case study shared by MGM Landscaping who transformed an unused grassed area into an attractive, functional and low-maintenance parking space,

This case study comes courtesy of Gary who was looking to create some off-road parking at his home in place of his currently steep and unused front garden which you can

Browse June & July’s showcase products from our Outdoor Living, Garden Storage, Outdoor Cooking, Landscaping & Tool ranges!

Browse May & June’s showcase products from our Outdoor Living, Garden Storage, Outdoor Cooking, Landscaping & Tool ranges!
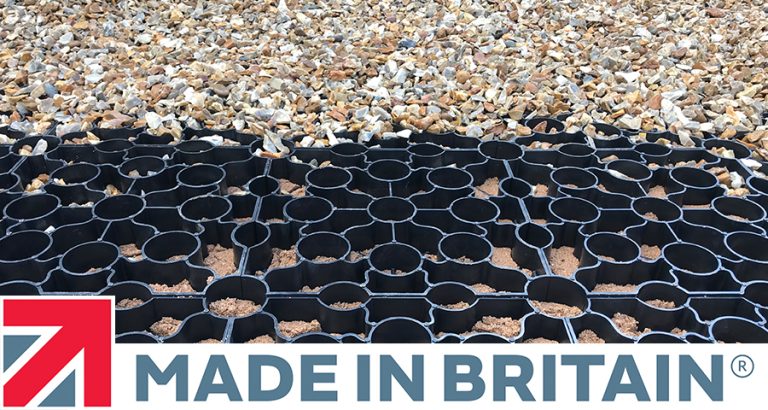
X-Grid is the first product of its type to be recognised and awarded the “Made In Britain” certification
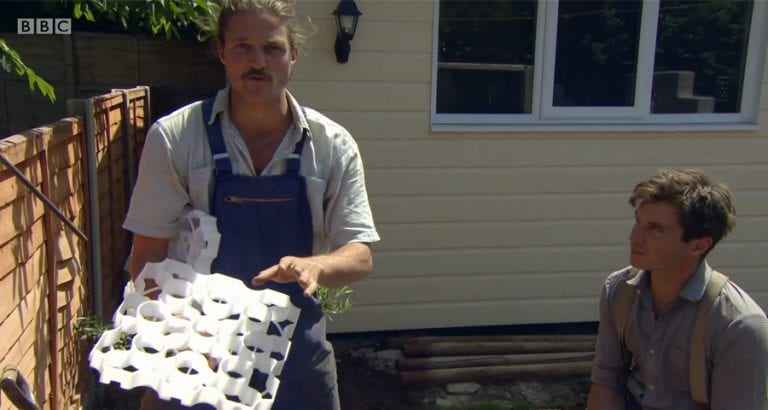
See how X-Grid was used by BBC’s Garden Rescue to help transform Paul’s back garden