Garden Base
How To Build A Shed Base & Shed – By OurAllotmentStory
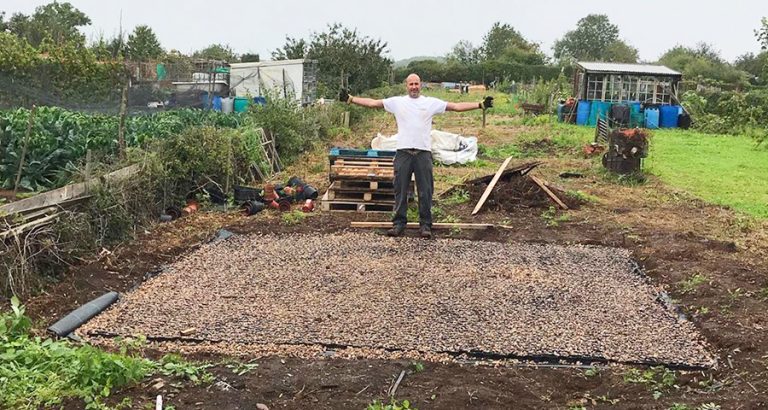
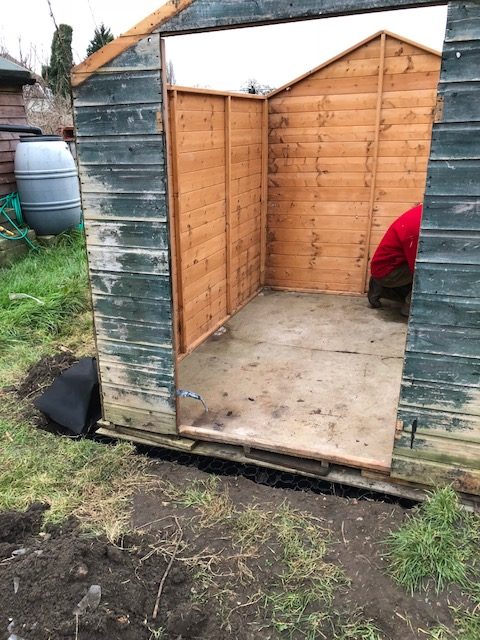
See how OurAllotmentStory used our plastic shed base as the foundation under their upcycled shed which was built using pallets and wooden planks
Sheds are a wonderful addition to any garden, with almost endless customisation and uses you will never run out of things to do in and around your garden building. From creating man or women caves to extending the roof to create a shaded area to relax or even host the odd barbecue! If you keep up to date with our Garden Guru Blog’s you can pick up a number of ideas on how to put a personal twist on your shed or building. You just have to ensure that you have the best possible recycled plastic base under any construction. Kevin installed his shed but wasn’t content with just the shed, read on to see what extension he added to his already great looking garden building!
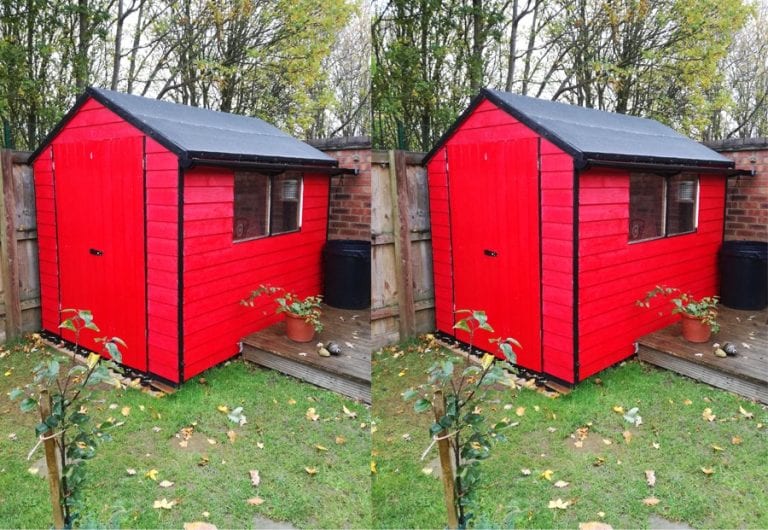
Kevin got in touch with us after his old shed had unfortunately suffered at the hands of rot. Determined not to make the same mistake again he ordered a 6ft x 4ft Plastic Shed Base to install on top of the existing concrete slabs in his garden. Although this is not how we suggest you should install our bases, the benefits are still very much worth the small amount of extra work involved with putting our base down.
Kevin’s new shed also included an extended roof where the family could sit and shelter from the sun or rain. He also told us that he had bought the base for a second reason, to raise the height of the roof so he and others wouldn’t have to duck to enter the covered area. Read on to find out how Kevin installed his base and shed.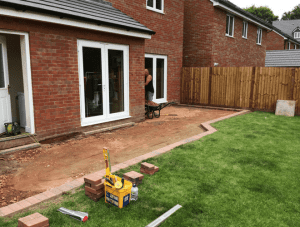
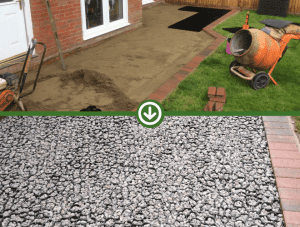
With the Concrete slabs already in place, Kevin’s base installation was to be a quick procedure as there was only a little ground preparation required beforehand. The only prior work that was required was a small later of sand which Kevin used to ensure that the base would not move once the Shed was installed on top. Should the base be installed straight onto the concrete slabs there is a slight chance that the panels could slide when weight is applied.
Next, with the layer of sand prepared, Kevin could begin laying the plastic base. Starting in one corner he laid each individual panel and attached them together simply using the slot and peg system until the full area was suitably covered. He told us how simple the base was to lay and he would definitely recommend the product to others.
Finally, Kevin could install his new Shed. With some help, he was able to lift his new shed straight onto the base ready to build his shelter part. This is how Kevin told us he was able to do so;
“We bought extra support beams for the roof and sides. Then we built the shed sides as normal and added the supports to the top of each side and swapped the roof support supplied for a much stronger one-piece roof support. I angled the top edge of support to take on the angle of the roof. Finally, the sides of the open part were filled in on the two sides using standard rustic fence panels”
As you can see from the photos in the case study, Kevin’s project has turned out fantastically well, the extra effort he put into the base and creating the shelter will no doubt be worth it in the coming summer months. Unfortunately, Kevin has now fully covered up our base so no one will be able to see it, but we will let him off just this once!
We would like to say a huge thank you to Kevin for choosing to use our base as well as sending up the photos and information needed to create this case study. Should you have any photos to share or questions regarding our products then please do not hesitate to contact us.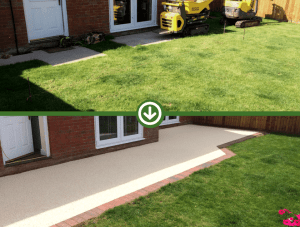
See how OurAllotmentStory used our plastic shed base as the foundation under their upcycled shed which was built using pallets and wooden planks
Allotment owners can struggle carrying all of their tools and equipment from their home to their plot of land. This was an issue our customer was having before getting himself
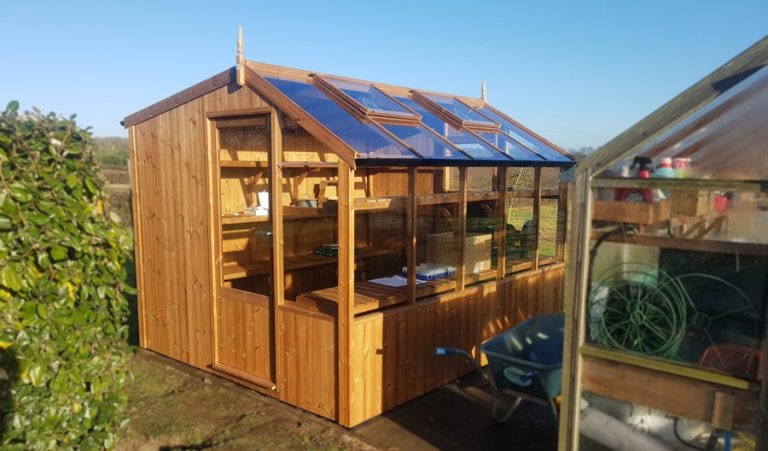
When it comes to laying a base over a large area like in this case study (10ft x 7ft area) it is important to remember how labour intensive that could
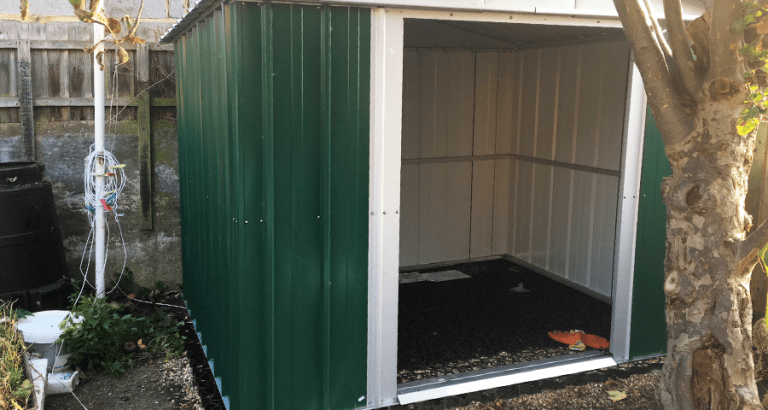
This case study comes from a past customer who has recently purchased himself a brand new, green metal shed for his garden and was in need of a suitable foundation.
Jump To: | The Project | The Work | Conclusion | The Project This case study comes from a past customer, Michael, who purchased an 8ft x 6ft Plastic Shed
Jump To: | The Project | The Work | Conclusion | The Project This case study comes from Chris who was looking to add a Storage Shed to his garden,