Fire Bowls For Cooking
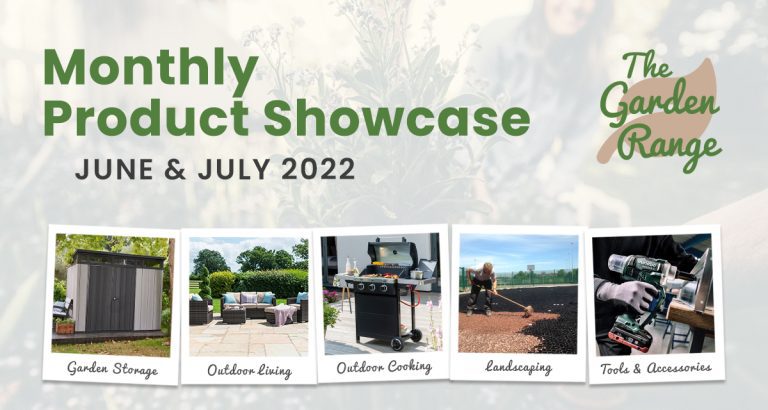
Product Spotlight – June & July 2022
Browse June & July’s showcase products from our Outdoor Living, Garden Storage, Outdoor Cooking, Landscaping & Tool ranges!
Browse June & July’s showcase products from our Outdoor Living, Garden Storage, Outdoor Cooking, Landscaping & Tool ranges!
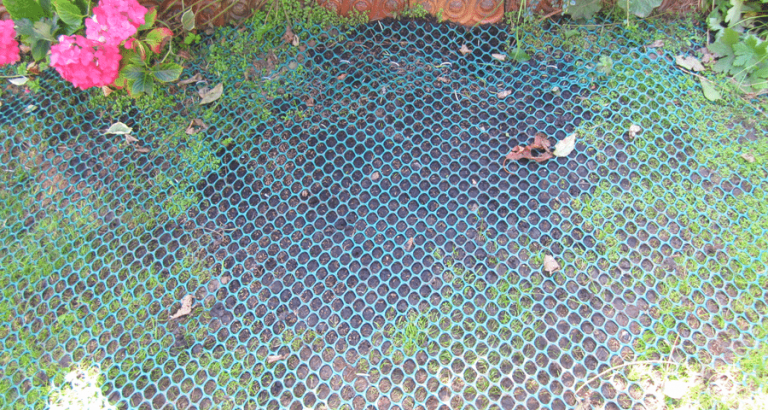
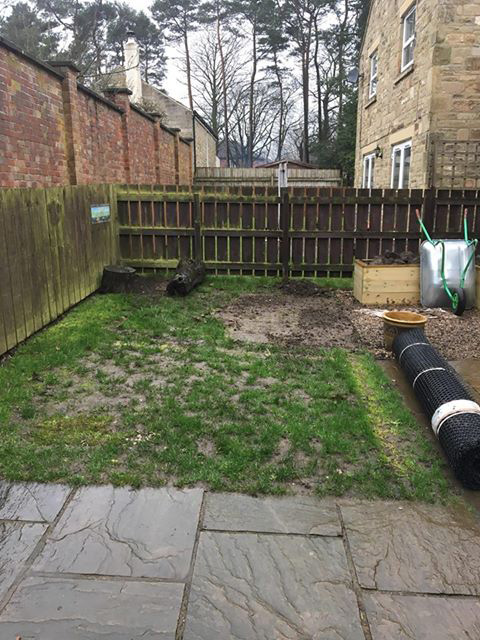
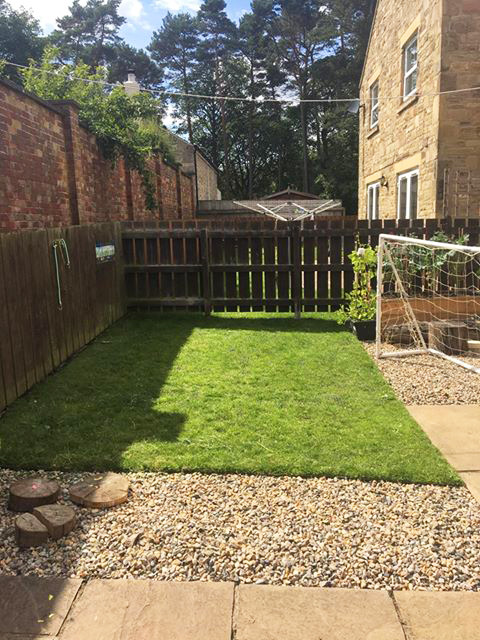
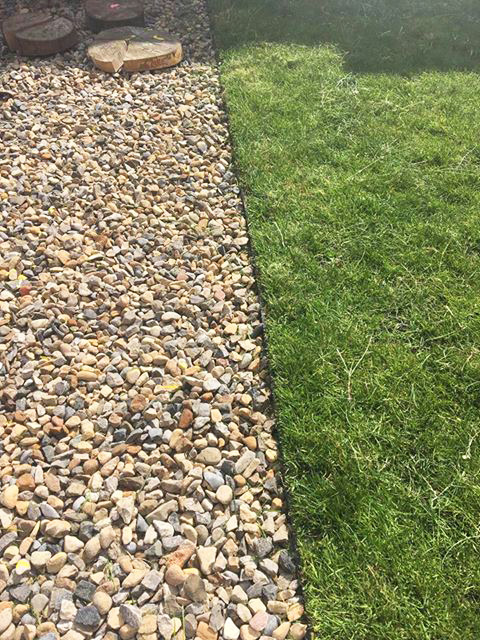
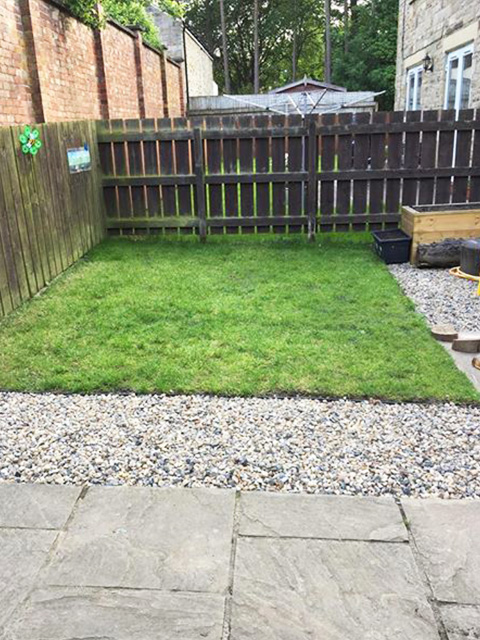
Two similar case studies from past customers who used our grass protection mesh as a solution to their dogs digging up their gardens