Self-Built Shed & 10ft x 8ft Plastic Shed Base Installation
This case study comes from Alex who had recently purchased a new 10ft x 8ft Forest Garden wooden shed from Wickes which he would have to assemble himself. Knowing there would be rather a large amount of work needed to create the actual shed, he decided to try and find a simple yet still effective foundation solution that would not be labour intensive.
Before researching, Alex thought he would have to create a concrete base using large and heavy concrete slabs which would be a very labour intensive job. He decided to research online for alternative shed base options and was not disappointed by what he found.
Choosing A Plastic Shed Base
His search results brought up our website and our strong, fully recycled, UV & weather-resistant and easy to install plastic shed base. After reading up on its fantastic benefits mentioned above, Alex ordered a 10ft x 8ft Plastic Shed Base Kit the same day he found us. He placed his order on a Monday evening, meaning his order was dispatched Tuesday and arrived at his home on Wednesday!
His order was sent out in 4 easy to manage boxes with the membrane roll separate. He was able to easily move and store his base until he was ready to begin installing it!
Shed Base Install & Shed Erection
Alex began his work the following weekend, he unpacked his base on to his garden and started his installation.
He began the project by measuring and marking out using string a 10ft x 8ft area in a pre-determined part of the garden. With the area marked out, he began excavating a small layer of grass and soil so when his base was installed it would sit flush with the surrounding turf.
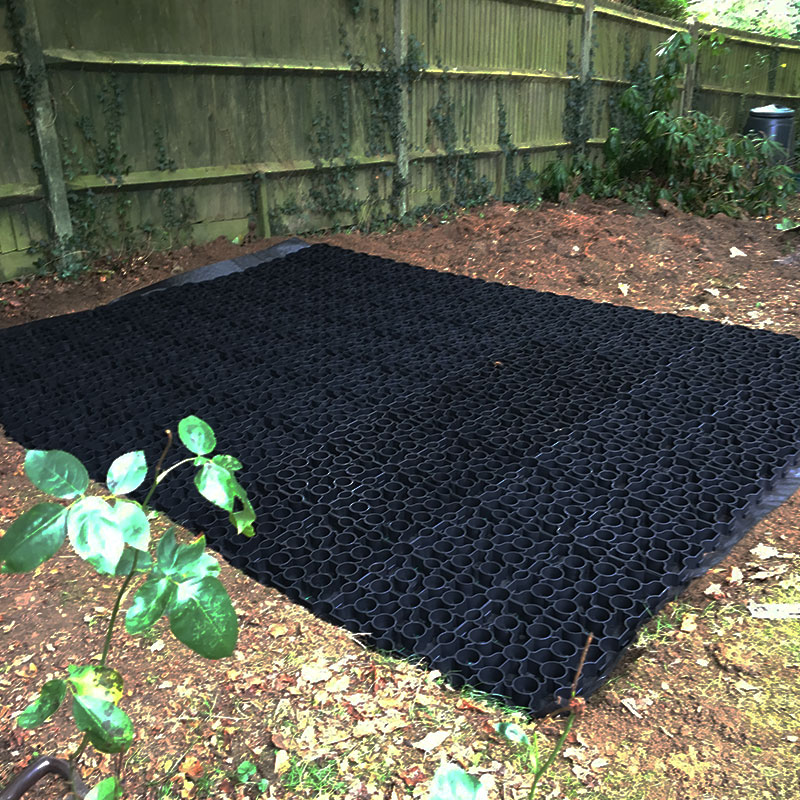
With the area excavated, Alex next roll out his sheet of membrane to cover all of the newly exposed soil. Membrane is used to allow water to drain away naturally whilst acting as a barrier by stopping weeds and plants from growing up and through your base to your shed.
On top of the now laid membrane, Alex began installing his 10ft x 8ft plastic shed base. He started in one corner and laid 4 plastic shed base panels at once (this is how they are shipped) and simply connected the neighbouring pieces together using the specially designed slot and peg system. This process was repeated, laying the panels and connecting the touching pieces together until the entire base had been laid.
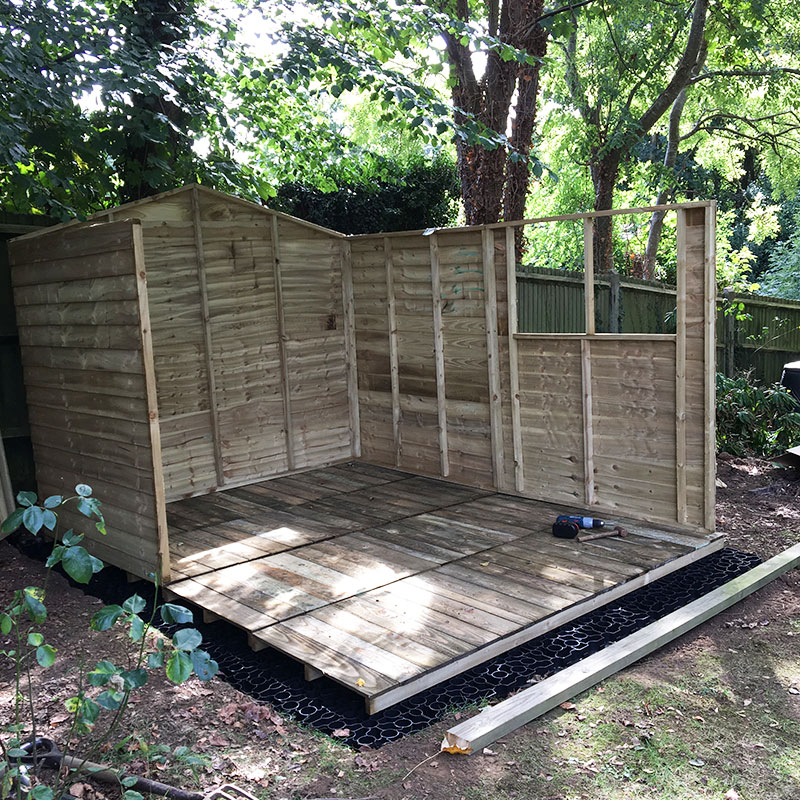
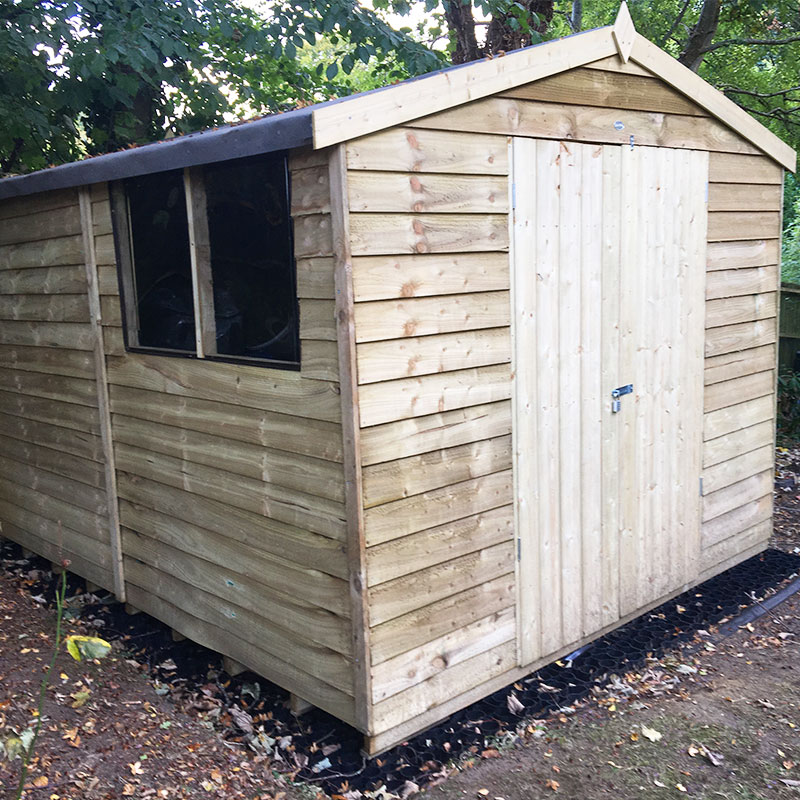
Although we do recommend it, Alex did not fill his base with gravel and began building his shed. As you can see from the photos in this blog, he began by putting together the flooring before erecting the walls. With the walls and roof support beans installed correctly, his next job was to install the roof. Finally, with the structure complete, Alex had to install the four windows and the doors.
Although it is easy to list the process, the actual work involved with building a shed can be hard and Alex has done fantastically well creating his new wooden shed! The shed and its plastic shed base look amazing!
Conclusion
A big thank you to Alex for sharing the photos and details of his installation to allow us to create this case study, his shed looks fantastic!
Alex told us: “Your plastic shed base transformed a heavy lifting job into just a levelling one. The base was great for my 10ft x 8ft shed, especially as I was working on the job by myself. I would have no hesitation in recommending the plastic shed base to others.”
If you have any images or information about your project to share with us or have any questions regarding our base then please do not hesitate to contact us.
0 responses
Where can you buy the base
Hi Agnes,
Thank you for your comment, you can buy your base from our shop https://www.plasticshedbase.co.uk.
Hope this helps.
Thanks,
Callum