Garden Base
How To Build A Shed Base & Shed – By OurAllotmentStory
See how OurAllotmentStory used our plastic shed base as the foundation under their upcycled shed which was built using pallets and wooden planks
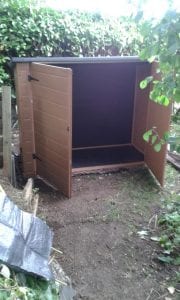
Everyone has that spare room in their house or the old garden shed, the dump it may as well be called. A few old toys, bikes, tools and lots more stuff you probably forgot you had. Why not tidy out that room or shed, keep the things you may need and take the rest to a charity shop? Then buy yourself a handy little storage unit for your Garden, a secure and inexpensive way to store your tools or bikes. Not only are they cheap but they also require little maintenance. Peter was looking for a suitable storage room and bought himself a plastic one from B&Q. The next stage was sorting out the base, see what he decided to do by reading on!
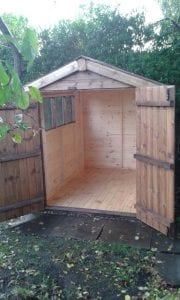
When we got in touch with Peter to create this blog post, he had already bought 2 shed base kits from us. He bought 2 so he had enough to complete both of his jobs, the first base was his Plastic Garden Storage Unit and the second was for his Wooden Shed. Peter did have a look around at different options, gravel, wood or concrete. However, he found our website and decided that due to space restriction our Plastic Shed Base would be the most cost-efficient and also the easiest to lay compared to concrete and large wooden bases.
Peter ordered a 6×4 Shed Base and 5×4 Storage Unit Base, both were bought with membrane and staples. He bought two so that he would have enough to create both bases and also not have to buy the membrane or staples separately. Our warehouse team packed up the 2 base kits and sent them off with our courier, they arrived 3 days later in easy to manage boxes that Peter could simply move and store.
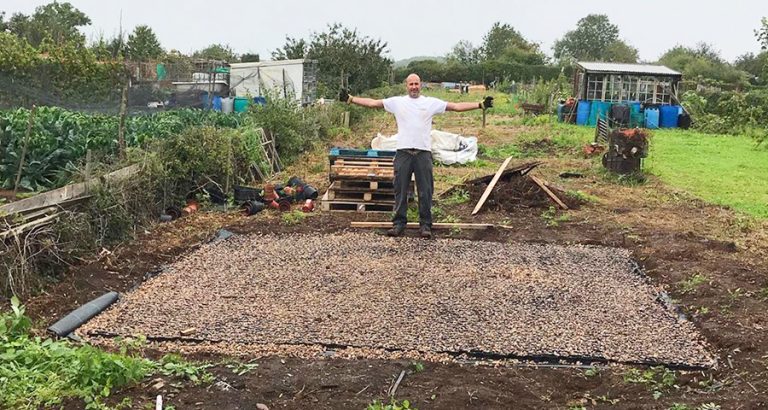
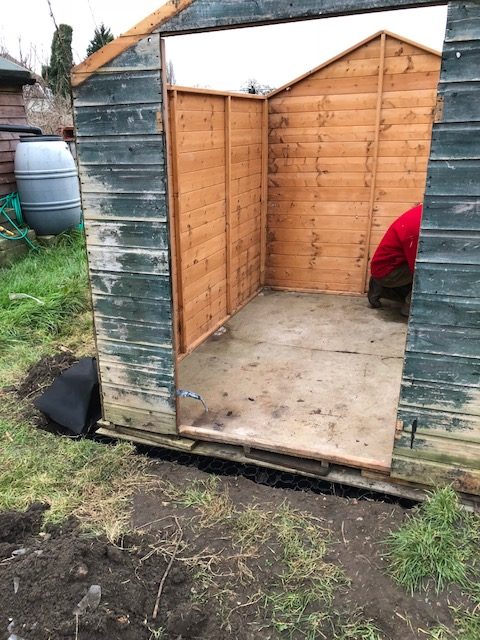
As with most projects, the first job is to decide where you are going to lay your base, Peter decided his 2 bases would be on a patch of unused land in his garden which you can see in the photos. The ground needed clearing and then digging down to a depth of around 15cm below his gardens grass level, the digging also included the removal of tree and bush roots. That wasn’t easy, especially when working with clay soil.
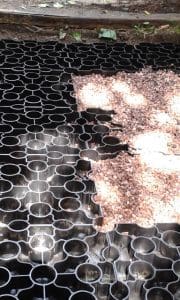
Once the ground was prepared, Peter laid the membrane in the 2 designated areas and stapled them in place. Next, he took the individual shed base panels and easily clipped them together then laid them in the correct positions, one of the more simple parts of the project! To complete the bases Peter filled them with pea shingle and compacted it down by laying large planks of wood down and walking over until flat. The shed installer was not sure about our Plastic Base as it may not be strong enough, however, he didn’t know that our base has been tested thoroughly and can withstand up to 420 tonnes per square meter.
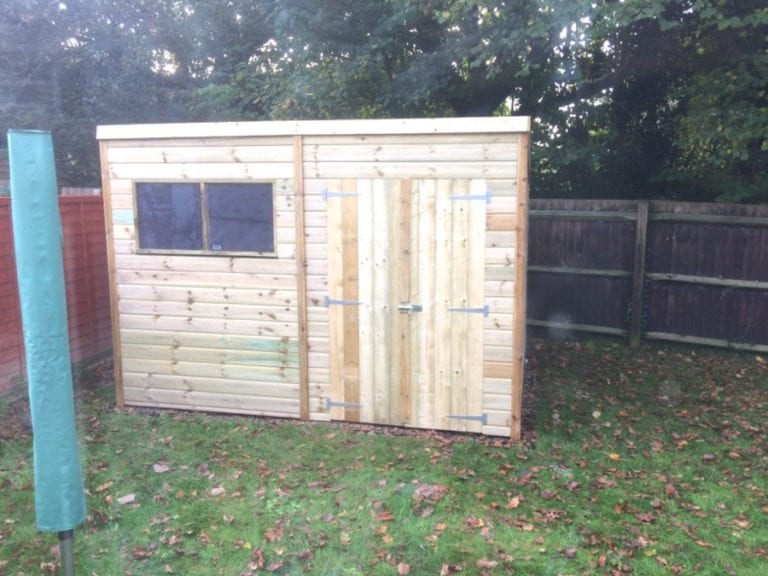
As far as costs are concerned, Peter said it came out around the same price as using conventional methods such as concrete slabs, however, our bases saved him time and the effort of having to lift and move lots of heavy concrete slabs. His bespoke shed was around £400 and his storage around £50. So overall including our 2 base kits the project totalled; £540.
Overall Peter is very happy with the base and also with how we as a company performed. “I am very happy with the base and with your very efficient service, thank you!” Choosing a larger base area would be Peter’s only amendment, this would be just so there is sufficient room for drainage.
We would like to say a huge thank you to Peter for his photos and also the fantastic information he provided us to help create this blog post!
See how OurAllotmentStory used our plastic shed base as the foundation under their upcycled shed which was built using pallets and wooden planks
Allotment owners can struggle carrying all of their tools and equipment from their home to their plot of land. This was an issue our customer was having before getting himself
When it comes to laying a base over a large area like in this case study (10ft x 7ft area) it is important to remember how labour intensive that could
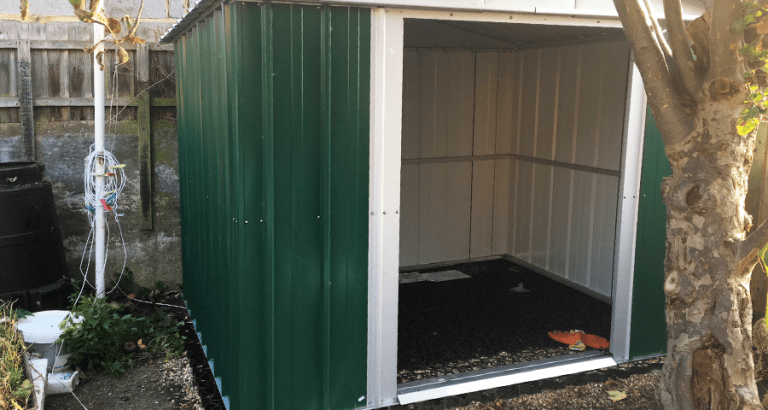
This case study comes from a past customer who has recently purchased himself a brand new, green metal shed for his garden and was in need of a suitable foundation.
Jump To: | The Project | The Work | Conclusion | The Project This case study comes from a past customer, Michael, who purchased an 8ft x 6ft Plastic Shed
Jump To: | The Project | The Work | Conclusion | The Project This case study comes from Chris who was looking to add a Storage Shed to his garden,