This case study comes from Fredrik who was looking for a suitable foundation to support his new wooden storage shed. Having already purchased some wooden planks to use as sleepers around his new base, he needed to find the best solution for his project.
He wanted to install the shed base himself and thus began looking for an easy to lay and non-labour intensive base which would be strong enough to support his shed for a long time to come. Read on to see what Fredrik decided to use as his base, its benefits, the installation process and his thoughts on his entire project:
Choosing a Plastic Shed Base
Fredrik began researching online for easy to install shed bases that would still be strong enough to support his shed. After a little browsing he soon came across our website and our fully recycled plastic bases where he started reading up on their many benefits.
As well being made from 100% recycled plastic, our bases are able to hold up to 420 tonnes per sqm, are easy to connect together & install, have no curing time like concrete, can be relocated, are resistant to erosion UV stabilised and can withstand temperatures up to and exceeding 50°C.

After reading about all of our bases benefits, Fredrik knew this was the base he wanted to use and the same day ordered his 8ft x 6ft Plastic Shed Base along with a Shed Base Membrane and 20 Membrane Staples.
His order was processed and dispatched on the Monday and arrived at his home in easy to manage boxes the very next day. He was able to being his installation straight away, read on to see the process Fredrik went through to install his foundation and garden building.
You can follow the steps Fredrik took to install his base using the photos in this blog.

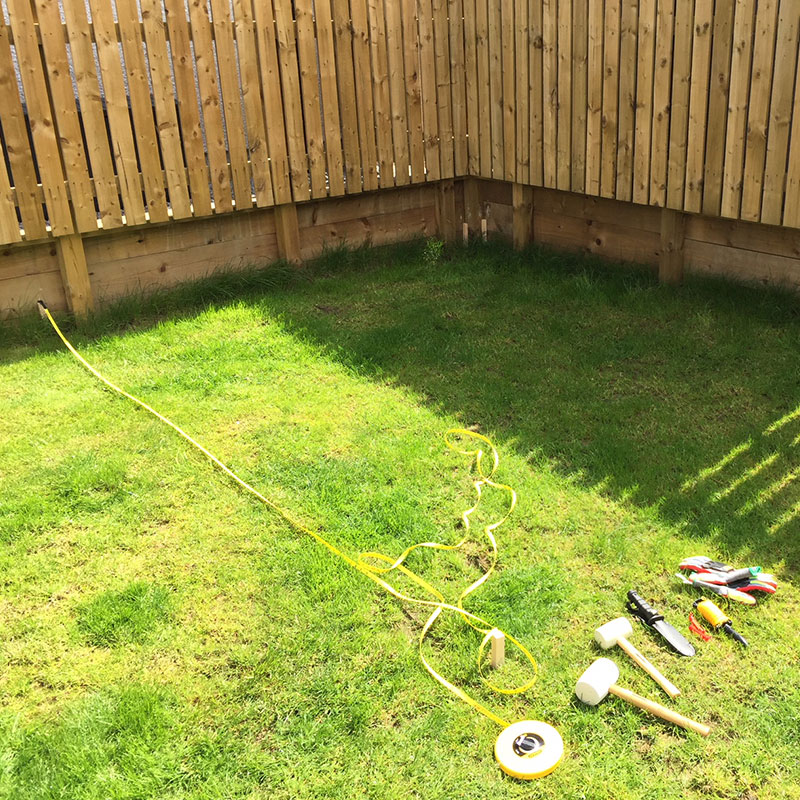
1. To begin his installation, Fredrik measured from his fence an 8ft x 6ft Area where his base would be installed. However, he wanted a french drain system so marked a few feet further out at each side to ensure there was room for his wooden sleepers and excess gravel. Fredrik then marked this area out before digging out the full to a depth of a couple of millimetres and disposing of the removed soil and grass.
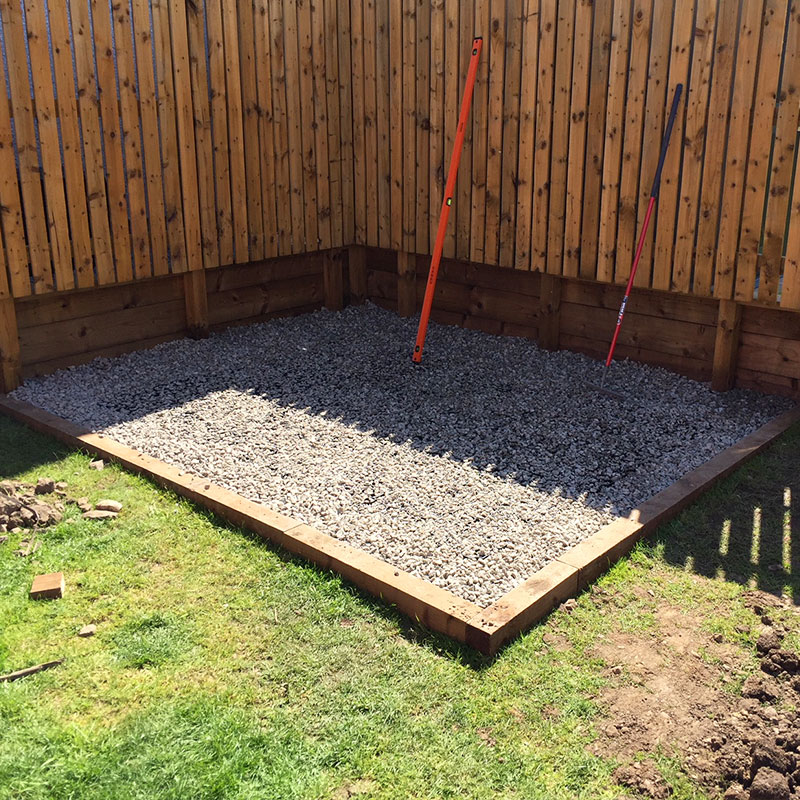
2. With the area now clear, Fredrik dug a little deeper down on the edges before installing his wooden sleepers and backfilling them to ensure they would not fall or move before the rest of the project was complete.
3. From here and after making sure the excavated area was as level as possible, Fredrik laid his membrane in the area and secured it using his pins to ensure the sheet would not move before he installed his base.
4. On top of the membrane Fredrik began laying his 8ft x 6ft Plastic Shed Base. He started in one corner and laid 4 panels at once (this is how they are shipped out) by easily connecting the panels together using the specially designed slot and peg system. He repeated this process of laying and connecting until he had laid his base. The installation of his base took no time at all and was one of the easiest part of the project.
5. With his base now in place, Fredrik started to fill the entire area with decorative gravel. We estimate that around 8kg of gravel is required to fill each plastic shed base panel however since Fredrik filled more than just his base it would be hard to estimate how much he used! Once he had filled the area he simply raked all of the gravel to ensure it was even.
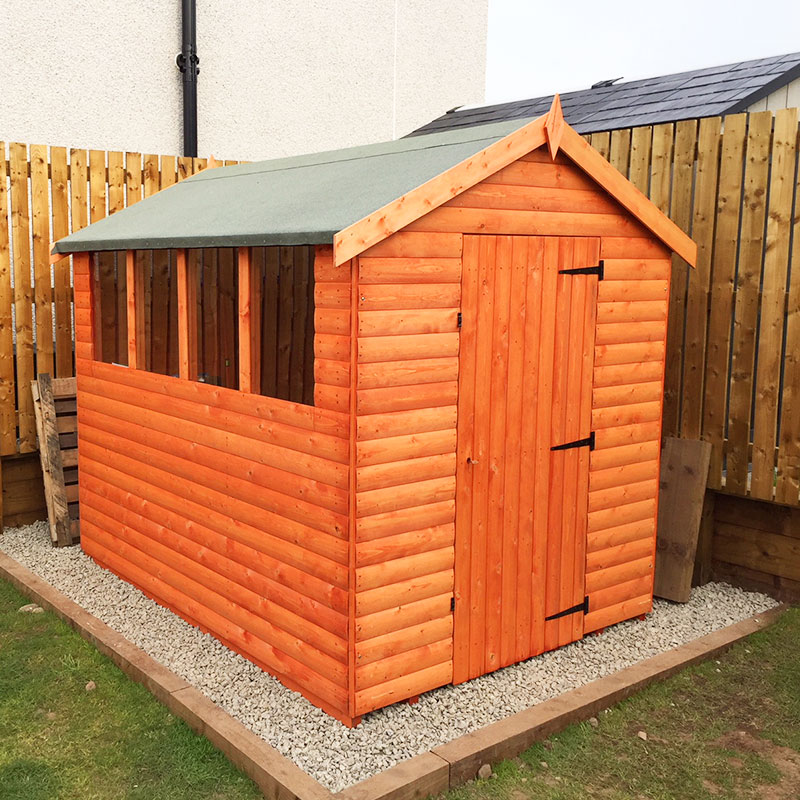
6. Finally, with his base complete, all that was left to do was to have his new wood shed installed! We all agree that his new shed and foundation look amazing!
Conclusion
A huge thank you to Fredrik for sharing the photos and information of his project to allow us to create this case study of his fantastic installation! He has transformed the corner of his garden and now has a great looking wooden storage shed and foundation.
If you have any photos of your shed base installation to share with us or have any questions regarding our products then please do not hesitate to contact us.